


eight easy steps to making pellets at home
Think Green. Think GEMCO!
Looking for the best solution for making quality pellets? Check out the best range of pelletizing machines for your business that our team of professional engineers can design and create for you!
Below you will find some tips on how to make quality pellets for your reference.
Step 1 – Size Reduction
After gathering your raw materials, chip or shred them to reduce their size until the wood pieces are no larger than 1 inch (2.5 cm). Then use a hammer mill to reduce the size of the wood even further to a granular form. If the size of the wood or other bio products is small enough, that is, less than 1/4-inch in diameter, then you do not need to crush the material with a hammer mill.
Step 2 – Drying
Dry the material using heat to a 10 to 20 percent moisture consistency or according to your recipe. Leave the wood in the sun to dry naturally, or use an industrial slow heating oven to dry the wood pieces to the desired moisture level.
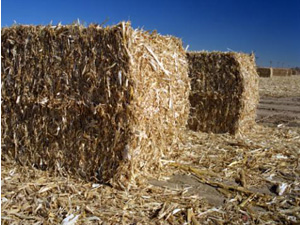
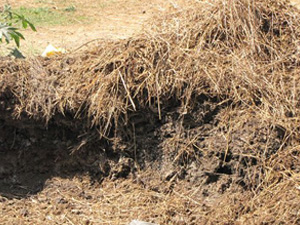
Different Agricultural Wastes:
Step 3 – Mixing
After the wood material has dried, feed it through a batch mixer or an agitator like a rolling drum to get rid of any clumps created during the drying process. This step will ensure that all of the wood pieces become uniform and consistent in density, moisture and size.
Step 4 - Binding
Pellets hold together after cooling due to the properties of a glue-like agent called lignin contained in wood (particularly in wooden chips found on the ground). While other bio materials can be also used to make pellets, such as fruit pits, nutshells or corn, a binding substance needs to be introduced to ensure that those non-wood pellets will also hold together (e.g. wax, vegetable oil, starch, or clay).
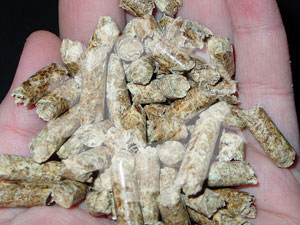
Step 5 – Pellet Production
Make your pellets with a Flat Die Pellet Mill which includes a die and a roller. The pellet press will also determine the density of the pellet, the diameter, the durability, and the length, which are very important factors for producing high quality pellets. The pelletizer applies steam and pressure to the wood by-products (such as sawdust or tree bark), causing them to heat up and release the natural lignins that bind the sawdust together. The wood and/or bio materials are passed through a system of rollers. The rollers in the pelletizer force the wood through a die which molds the wood into a pellet shape.
Different Materials for DIY Homemade Pellets in Farm
Step 6 – Sieving
Some pellets will fall apart or break during the pressing process, so you must separate the pieces that did not form properly by passing them through a sieve or screen. Pellets must be uniform in size and shape; otherwise it might lead to malfunctioning of your pellet stove or boiler.
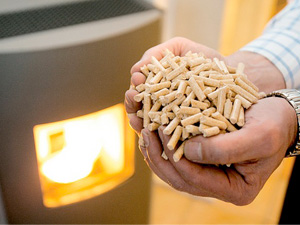
Step 7 - Cooling
The pellets will come out of the pellet press between 200 and 250 degrees and soft. Spread them out and let them cool and dry naturally - if cooled too quickly, pellets will form cracks and crumble.
Step 8 - Bagging and Storing Your Pellets
Place your pellets in sealed plastic bags and store them in a damp free environment where they will not become moist.